
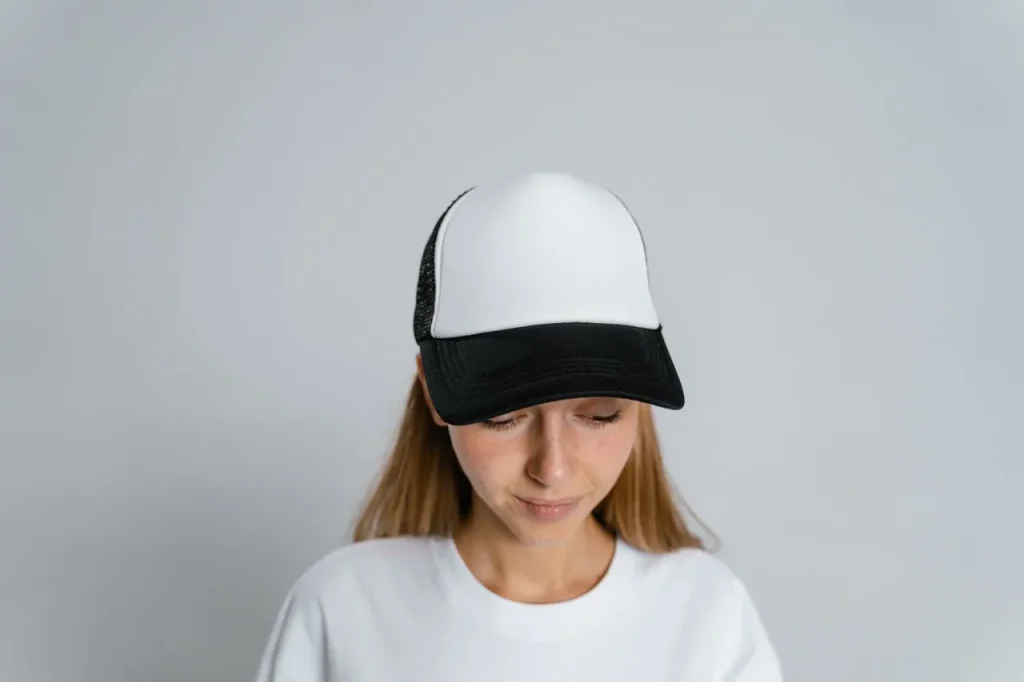
Your logo looks sharp on screen, but ordering custom caps is a different story. Suddenly you’re second-guessing everything, and it’s easy to end up with a design that’s too big, too busy, or stitched somewhere nobody ever sees it.
Plenty of good logos have been let down by a hasty placement decision.
For most brands, the answer is the front crown. It’s the largest, most visible spot on the cap, sits right at eye level in conversation, and suits almost every logo style.
Smart custom embroidered caps can also use the side, back or brim for secondary marks, taglines or a bit of personality. Here’s how each position works and when to use it.
What You’ll Learn
- The front crown is the best logo position for most brands, offering the largest decoration area and eye-level visibility in every conversation and photo.
- Side, back and brim placements work as secondary spots for icons, taglines and web addresses, and are best kept small and simple.
- A front logo paired with one secondary placement is the sweet spot; any more starts to crowd the cap.
- Front logos work best at around 5 to 6cm high, with side and back marks around 4 to 5cm wide, sized to stay legible on a curved, stitched surface.
- Simplify artwork before scaling down, as fine lines and text under 5mm tend to blur in embroidery.
- Gorilla Print offers custom caps in budget, premium, dad and trucker styles, with a mockup supplied before production so you can check placement and sizing.
Cap Logo Placement Options Compared
A cap has five main placement zones: the front crown, the left or right side, the back, and the brim. Each spot differs in visibility, available space and the kind of logo it suits. The table below shows how they stack up.
| Placement | Visibility | Approx. Logo Size | Best For |
|---|---|---|---|
| Front crown | Highest, seen face-on | Up to approx. 10–12cm wide × 5–6cm high | Primary logos, team crests, bold branding |
| Left or right side | Medium, seen in profile | Approx. 4–5cm wide | Secondary marks, icons, sponsor logos |
| Back (above closure) | Medium, seen from behind | Approx. 4–6cm wide | Web addresses, taglines, small wordmarks |
| Brim (top of visor) | Medium-high, bold statement | Varies with brim width | Patterns, slogans, streetwear-style designs |
| Under brim | Low, a surprise detail | Varies | Hidden messages, brand colours, extras |
Branded caps repay the effort, too. According to the Advertising Specialty Institute’s 2026 Ad Impressions Study, a branded baseball cap costs advertisers an average of about three-tenths of a cent per impression, making it one of the cheapest brand exposures money can buy.
Why the Front Crown is the Default Logo Position
The front crown is the standard position for a logo on a custom cap because it offers the biggest decoration area and the best visibility. When someone wears the cap, your logo sits at eye level in every face-to-face interaction and every photo.
There’s a reason nearly every sports team, tradie brand and streetwear label puts its mark front and centre. The front crown:
- Gives you the most room to work with, so detail and text stay legible
- Faces the people your wearer talks to, which is where brand recall happens
- Suits every cap style Gorilla Print offers, from budget and premium caps to dad caps and truckers
- Handles both embroidery and printed decoration well
On trucker caps and other structured styles, the front panel is firm and smooth, which makes embroidery crisp. On unstructured dad caps, the front is softer, so simpler logos with fewer fine details stitch up better.
Side, Back and Brim Placements for Cap Printing
Side, back and brim placements are secondary positions that add branding without crowding the front. They’re smaller decoration areas, so they suit icons, wordmarks and short text rather than detailed logos.
Used well, these spots turn a simple cap into a considered piece of merchandise:
- Side Placement
Puts a small icon or sponsor mark in profile view, where it reads like a detail rather than an ad. Keep it to a simplified version of your logo. - Back Placement
Sits above the closure and is perfect for a web address, tagline or team name. It catches everyone standing behind your wearer in a queue or crowd. - Brim Placement
Makes a statement. A slogan or pattern across the visor reads bold and streetwear-inspired, great for launches and giveaways aimed at younger audiences. - Under-brim Printing
Is the fun one. A hidden message or a flood of brand colour under the visor shows up in photos and gets caps talked about.
Combining a front logo with one secondary placement is the sweet spot. Any more and the cap starts to look like a race car.
Sizing Your Logo for Custom Cap Design
Logo sizing can make or break a custom cap design. As a rule, front logos work best at around 5 to 6cm high, side and back marks at around 4 to 5cm wide, and all versions need to remain legible on a curved, stitched surface.
A few sizing and artwork rules save headaches at proofing stage:
- Scale down, then simplify. Shrinking a detailed logo isn’t enough; thin lines and small text under about 5mm tend to blur in embroidery, so strip back detail for smaller placements.
- Match the logo shape to the space. Wide, horizontal logos suit the front crown; square icons suit the sides; short wordmarks suit the back.
- Check contrast against the cap colour. A navy logo on a navy cap wastes everyone’s time.
- Ask for a mockup. Gorilla Print can provide artwork proofs before production, so you can see exactly where and how large your logo will appear before a single cap is made.
‘I always tell clients to squint at their design. If you can’t tell what it is with blurry eyes, someone walking past the cap won’t either’.
– Marilyn Nicola, Senior Graphic Designer
Frequently Asked Questions About Promotional Caps
What is the standard logo size for a cap?
Front logos are typically around 10 to 12cm wide and 5 to 6cm high, while side and back placements are usually around 4 to 6cm wide. The exact maximum depends on the cap style and panel shape.
How can I design my own cap?
Start with your cap style and colour, then choose your logo placement and supply your artwork as a high-resolution or vector file. Gorilla Print’s team can also tidy up or create the design for you, and you’ll receive a mockup to approve before production.
How much does it cost to make a custom cap?
Pricing depends on the cap style, decoration method, logo complexity, and the number you order. Budget caps with a simple embroidered logo sit at the affordable end, and the per-cap price drops as quantities increase. Gorilla Print provides an exact quote upfront so there are no surprises.
Is it cheaper to print or embroider hats?
Printing is often slightly cheaper for small runs or multi-coloured designs, while embroidery becomes very cost-effective at volume since pricing is based on stitch count rather than colours. For most simple logos, the difference is minimal.
Does embroidery last longer than print?
Generally, yes. Embroidered logos are stitched into the fabric, so they resist fading, cracking and washing far better than surface prints, which is why embroidery is the standard choice for caps.
Create Branded Caps That Leave a Lasting Impression
There’s no single right answer to cap logo placement, but there is a right answer for your logo. Front-and-centre wins for most brands; secondary spots add polish when kept simple; and surface sizing keeps everything sharp.
Nail those three things and your caps get worn, not binned, and every wear is another brand impression. When you’re ready to see your logo on a real cap, send it to Gorilla Print.
Choose from budget, premium, dad and trucker cap styles with custom embroidery or printing, get a mockup of your placement before production, and have your caps delivered anywhere in Australia.

Greg Costaras
With over 25 years in print design and production, Greg is a specialist in the field, helping thousands of clients achieve their print dreams over that period.
Share This Post
More Posts
What Is the Difference Between Day and Night Hi-vis?
September 22, 2026

Embroidered vs Printed Polo Shirts
September 15, 2026
Basketball, Soccer or Rugby: Choosing the Right Uniform Style
September 8, 2026
What Makes Good Quality Workwear?
September 1, 2026